Knitting: Mark 2

This time with a handful of rules …

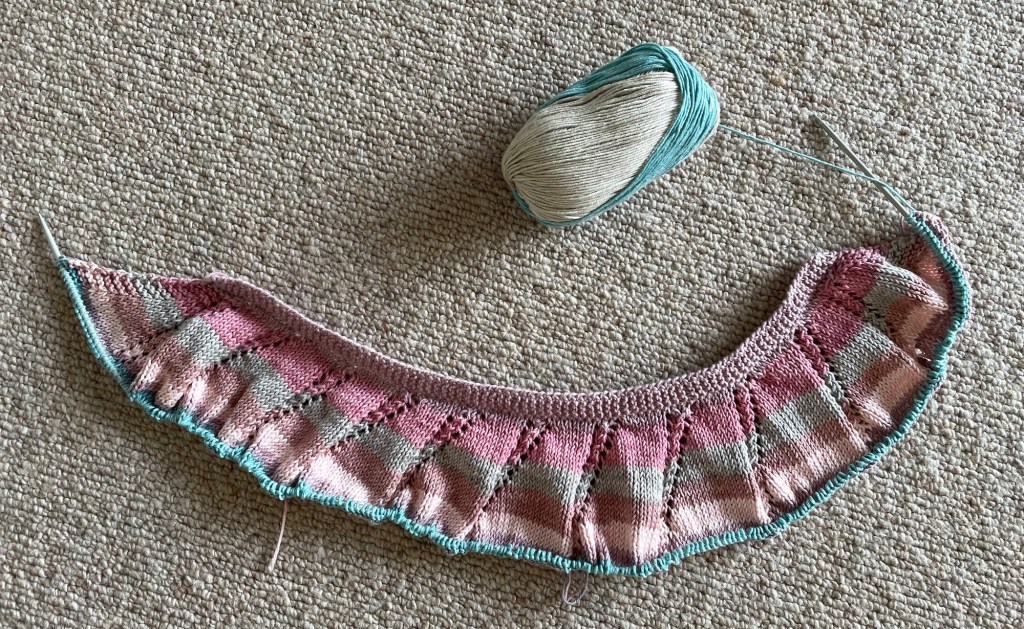
… about half done. A zig zag shawlette based on two variations of the cellular stitch. (367, p67) I’ve so far found five ways of doing the eyelet stitch and all have different-looking fabric.

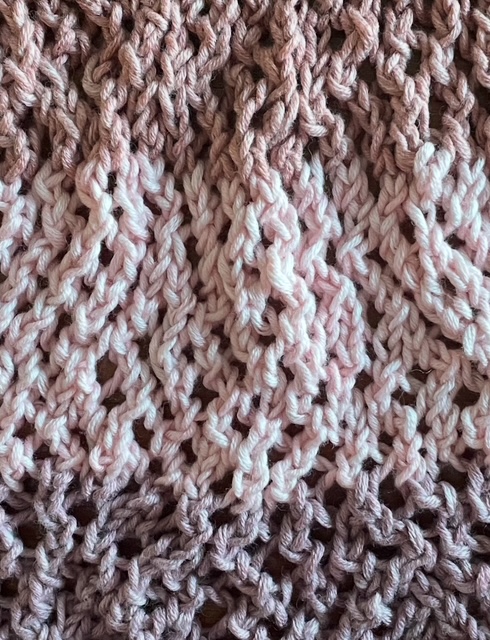
In this knit the two I’ve used result in a strong rib-like pattern on the front, and two brioche-style textures on the back. The book, see below, calls it the cellular stitch.

3 mm knitting needles or knitting pins if that’s what you’re used to.

Same yarn as before, equivalent in thickness to 4 ply, a 40% bamboo-derived viscose and 60% cotton, which is very comfortable to knit despite the problems identified in Mark 1.

— — — —

I’m still using Mon Tricot’s very elderly knitting dictionary with 900 stitches and patterns. English translation and adaption by Margaret Hamilton-Hunt, Published in France, 1971.
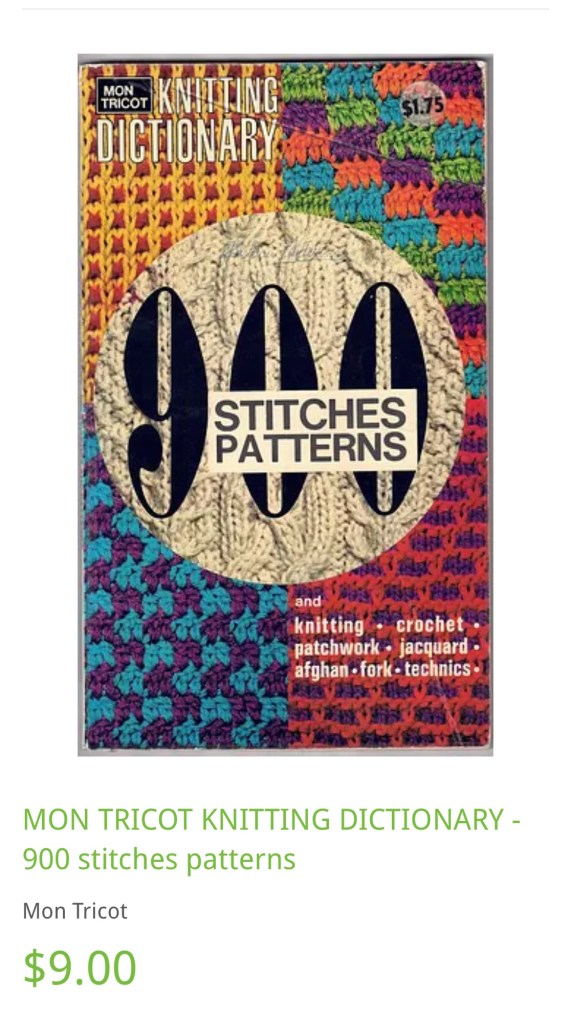
This for sale in the Oxfam shop in Adelaide … price hasn’t gone up much, whereas the copy on Etsy was $142.60!!! Guess that one was never used for its proper purpose.

Mine has the front cover being used as a bookmark.

But the first eyelet stitch I learned was well before 1972, probably round about 1962, knitting a little jumper for one of my sisters then aged about four …. “Wrap one to make one, purl two together” … Number 331 in the book on page 61.

— — — —

When my work (lol, in the present day) is sloping toward the right, all the action is on the back of the work. At the beginning of the row, knit two together purlwise, knit three plain, then wrap yarn to make one, and purl two together until the last four stitches, knit three plain and slip the last one purl-wise.

On the front of the work, make a stitch by purling first stitch and before pulling stitch from left needle, throw yarn back and finish with a plain stitch. There is probably a name for this process but I’ve never known it.

Though I discovered this way of increasing myself, I have no doubt that many other knitters also use it and that it has a name and set of instructions on how to achieve it.

Knit the rest of the line in plain, barring the last stitch which should be slipped purlwise.

Work as many rows as you have decided for your zig.

More to come on this as I haven’t even got you begun yet. Don’t despair.

— — — —

To begin, cast on three stitches. Knit eight rows always slipping the last stitch purl-wise, and doubling the stitch at the beginning of each row. You should have eleven stitches.

Now we start the pattern. Turn the first stitch into two using the same technique you’ve already been using, knit three stitches, *yarn over to make a stitch, knit two together purl-wise* repeat until last four stitches. Knit three, slip one purl-wise.

On the front side of the work, turn the first stitch into two, knit to the second last stitch and slip the last one purl-wise.

Proceed until you have a width that you like. From this point decide if you want a straight scarf or a zig zag.

If straight, continue increasing first stitch at front of work, and start decreasing at back of work—decrease by knitting first two stitches together purlwise which is easiest—every purl line.

I don’t like the yarn I’m using at the moment for a straight scarf. I like a more variegated colour-way. A straight scarf I’ll usually make longer than this zig zaggy one.

For the opposite of the zig—the zag— I need to knit to that place in my project before I can describe it.

And this is to come in Part Two. 😊

Knitting, Mark One

A while ago I started an experimental knit that I intended to serve as a base for a crochet design of leaves and vines.

What happened to that?

This. The rolling up just never resolved itself. The more I knitted the tighter and higher it rolled.

OK, so experienced knitters will be saying I’ve done something wrong and I accept that.

Too tight? Nope, as loose as possible with yarn no thicker than a regular two ply, knitted on 4mm knitting pins.

Weird yarn? Maybe. 60% cotton, 40% viscose. No spring in it. At all.

Wrong stitches? Very possible. Stitches in the body of the work are fine. Loose and drapy as desired.

Increasing at the beginning of each row? The problem has to be there! Ffor the purl, rear of the work, row I increased by sticking pin into back of first loop, knitting that plain, then bringing knitting needle forward to knit a purl and continuing with a purl line.

Did the opposite at the front of the work, making a stitch at the beginning of the row by knitting a purl, yarn to the back then knitting a plain and coninuing in plain.

These made nice edges, one that I’d never seen before on the purl side of a work …

And yet, by the time I’d knitted twenty rows the first five had rolled up. After I unpicked those first five—with difficulty—the next five rolled up as I was doing it.

By sixty rows, the first fifteen had rolled up. No matter how I draped and folded the resulting cloth the bottom rolled up. By the time I’d knitted eighty rows I knew I had a twisted disaster and finished it off.

I may deconstruct it and use the yarn for another project, but this was already the second knit that that yarn featured in. Not sure how well it’ll stand up to the strain of pulling apart again.

Note that I said ‘twisted disaster’ …

Knitting

Since the tiger-knit is done, I’ve begun a project that I’ve had in mind for a few months and has already had a few trial runs. I’m amazed how well the yarn has stood up to being ‘frogged’ (knitting term that means to pull undone) four times up to now.

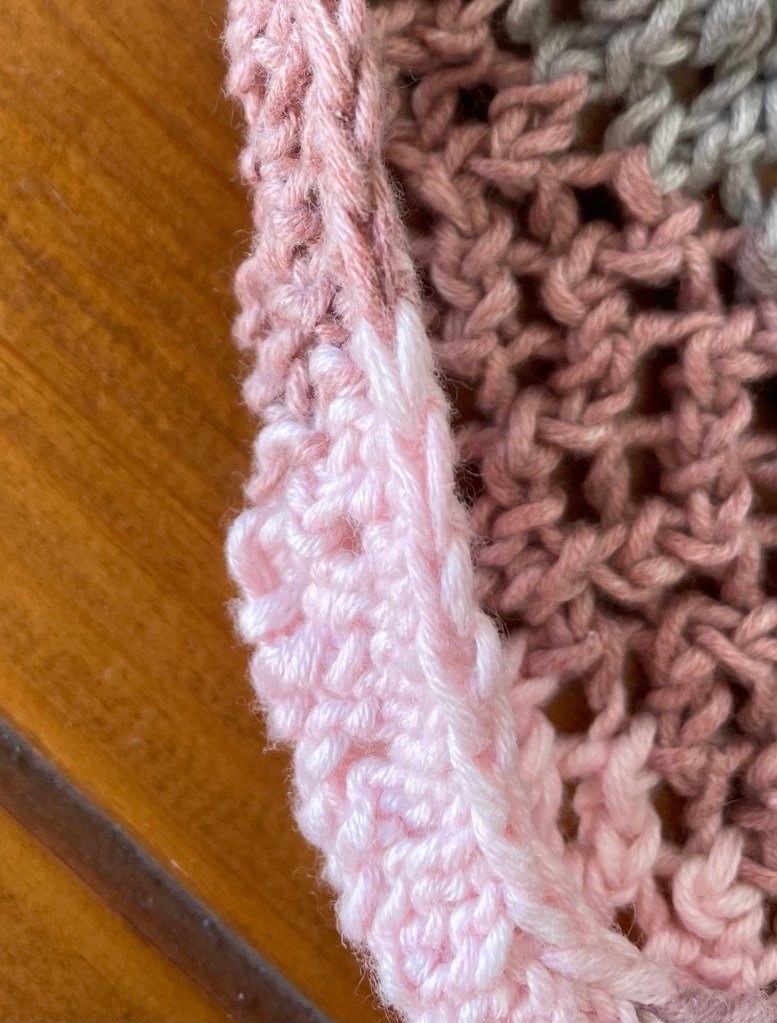
And even this time I was doubtful at first whether I’d keep this version as that bottom corner just will not unroll. I’ve tried a few things already, including pulling the first three rows apart. This merely caused the rolling effect to rise.

But I discovered it is probably an effect of the work being on the needles–which causes a certain tension along the sides–and which disappears when, for example, I knit half a line and the work hangs differently.

And let me tell you that the above are not the true colors! Though even the true colors, being what we used to call Vogue shades, are not my favorites. The yarn was on special, probably because no one likes them. I’m planning on throwing a bit of quinaquadrone gold at the finished work which usually fixes sickly hues such as these.

Third, as I hope you’ll have noticed by now, is the lack of a regular pattern. I wanted to see if I could knit a lacy organic-looking ‘shawlette’ to support an bunch of vines that I will crochet and/or embroider on it after the knitting.

A shawlette is a medium-sized shawl, I’m assuming. I learned the term from JS. The deepest part will about 40 cms or 17 inches. The length … not sure yet … whatever it ends up being when I’ve reached the required depth.

On the right side of the work, I’m increasing at the beginning of every line, then knitting eyelets either by (1) yarn over, slip one knit one and psso … which gives me a left-leaning stitch, and (2) yarn over and knit two together OR knit two together and yarn over … which give me right-leaning stitches. the main thing to remember is to do a yarn-over either before or after a pair of stitches knitted together. NOTE to self do not follow a yarn over directly after a yarn over.

The wrong side of the work is always purled.

By making these tiny decisions on each ‘knit’ line (on the right side of the work) for each wriggling vine wending its way up the knit, I’ll be able to pick out the strongest longest foundation vines to embellish. The rest will help build a foresty texture when I have fixed the colors.

That’s the plan, anyway.

After the Knitting …

After the knitting comes the sewing and stuffing …

But, because of the intricacy of the knit, there can be no sewing the whole thing together and then stuffing it.

Here I’ve sewn the two body-sides together at the spine, sewn up the four legs and stuffed them, and was about to start on the tail when I discovered the underside must be done before the back and tail.

The written instructions?

The written instructions are terse. I’m having to guess and gamble in places. Such as, pay out a front paw so the underside will stretch far enough to take in the backleg on that side sufficiently.

Because of course no hand-knitter will ever achieve exactly the same tension as another hand-knitter.

Knitting Day and Night

The tiger knit is incrementing at four lines per day about every second day. It’s turned out harder on my hands than I expected.

Finer knitting needles than I’m accustomed to, 8 ply yarn, and a tension that needs to be tight to prevent the stuffing later from showing through.

The stripes are quite intricate to knit. I’m having to check the pattern chart every couple of stitches and naturally the two colours get tangled no matter how I arrange them.

So this is my daytime knit.

Nights, while watching TV, or—I confess—any time I have ten or twenty minutes to spare, I’ve been working on my swirl shawl.

The yarn is Shadow 8 ply by Vera Moda, 60% cotton and 40% acrylic … one of those yarns you see marked down more than half its original price and you can’t resist buying. It’s very pleasant to knit.

A few more rows and I’ll need a longer flexible knitting needle.

Knitting, a Tiger

So far so good

Have just added in the left front leg. This knit has got to be one of the most challenging knits I’ve attempted so far … and I began knitting when I was nine.

Juffrouw Krauweel taught me and about twenty other 9 year olds when we were in Grade Three.

Juf stood in front of the class with her big knitting needles calling out the steps for each stitch … insteken, omslaan, doorhalen, af … (I can’t remember the last word in Dutch, maybe later)

I was an independent hussy where knitting was concerned and knitted without patterns most of my life.

This time however I’m following the directions stitch by stitch.