… is a way of painting with watercolors, I’ve discovered. And I’m in the throes of experimenting using the technique.
First came across it on Susan Cornelis’s blog. https://susancornelis.wordpress.com/wp-content/uploads/2025/03/googleeye.jpg
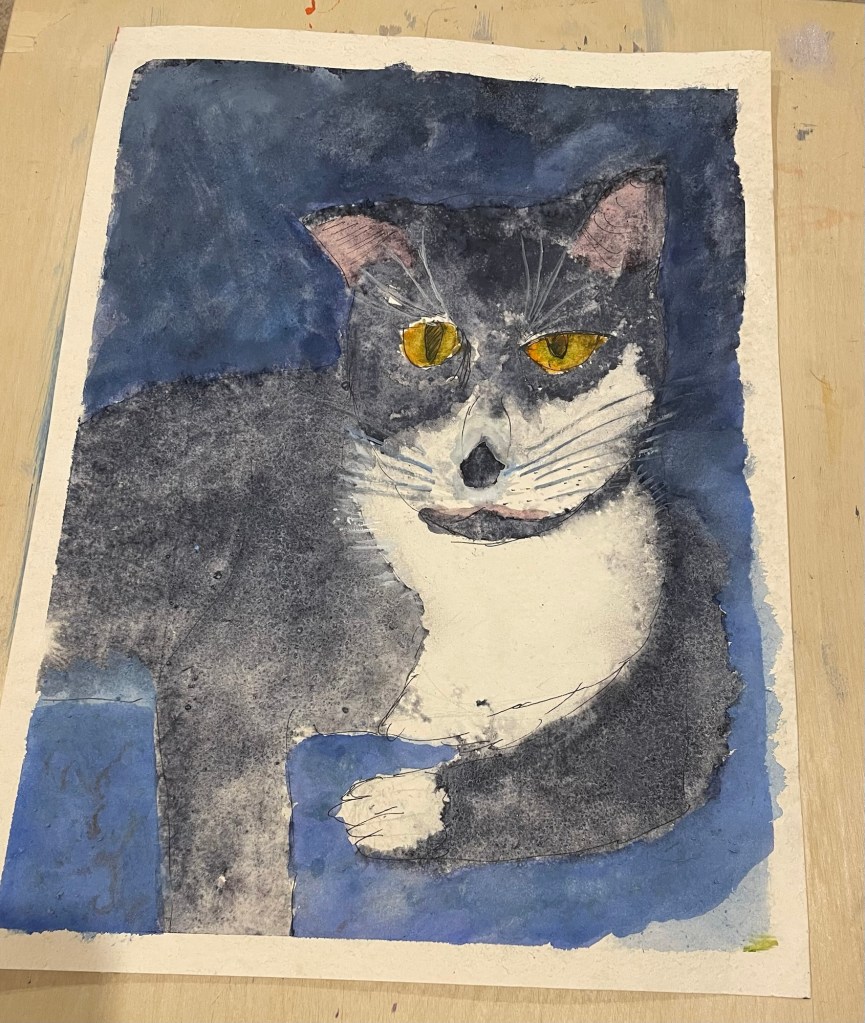
So I’ve fallen in love with granulating paints. My first effort was Miss Tabitha…

Ordered a couple more tubes of granulating paint and washed out a fine spray bottle originally used for a deodorant.
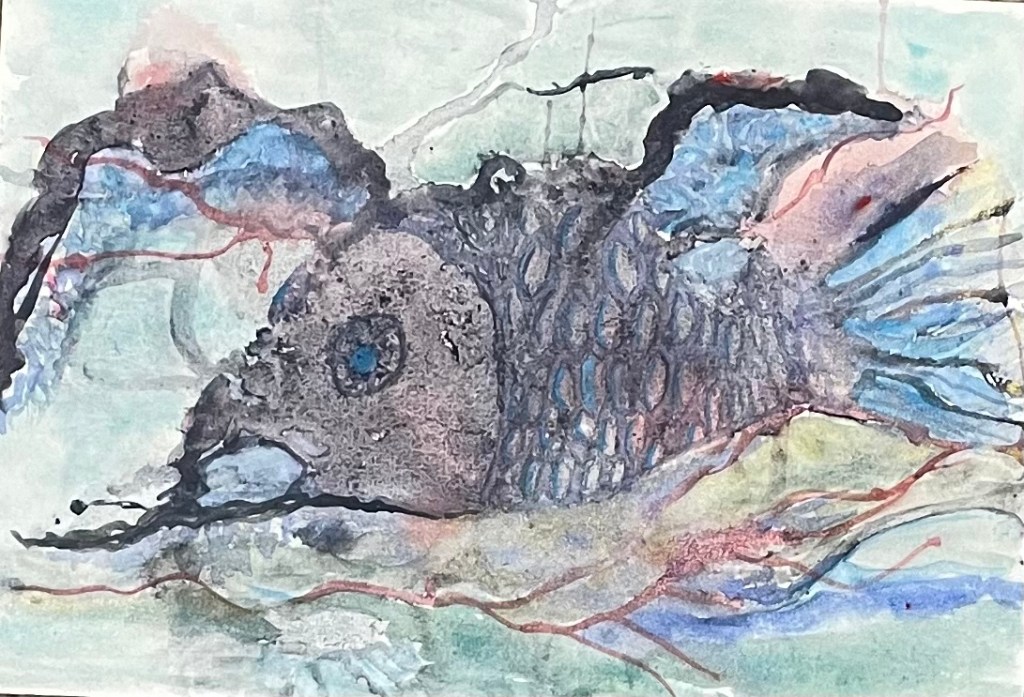
Second, this fish. I call it a bottom feeder, but may rename it … I’m having so much trouble getting this from my mobile … might have to do magic. Like, abracadabra … OK I’ve got it. Ended up saving it to the desktop … isn’t she beautiful? A spatter and spray painting barely touched up. Well, OK, I painted the scales. The rest is dabbed. Not yet sealed.
This is the top half of my third effort. I’ll tentatively call it The Aviatrix. The bottom half of this painting is still a problem. one thing is for sure, I’m learning a lot about gouache.

It’s hard to believe what you can get from spattering paint onto the paper then spraying it with water. But that’s only the first layer. You let it dry, then the next day, if the pattern you have doesn’t yet suggest anything to you, you do it again. Like I did with this one. The third day, this aviatrix lay there waiting for me. I painted some of the areas to increase that likeness and here she is.
The bottom half of her face needed work of a different sort. After my efforts first with gesso, then with gouache that’s still in the thought-pan, and another post.
As well as the spatter and spray technique, I’m experimenting with sealing my watercolor paintings with an acrylic varnish. I hate the look of paintings behind glass or the whole process of framing. Miss Tabitha has been varnished and the look is good.
And plus, I don’t have enough wall space to hang everything I paint. Nor will I foist amateurish experiments on my nearest and dearest. So, most must be stored. Varnishing them seems like a good option.
The varnish I’m using is water-based so easy to cut. A mixture of 25% acrylic varnish in 75% water seems to be working pretty well. Ideally this should be sprayed on but since I’m still only experimenting, I’m laying the varnish on the painting with a watercolor mop brush. A time-consuming procedure but the only one I can afford at the moment.


